4 Budget-Friendly Gifts That You Can Make At Home Using A Deck Of Cards
4 Budget-friendly Gifts That You Can Make At Home Using A Deck Of Cards
The majority of us like receiving presents because they make us feel happy and special. However, giving someone a gift might be difficult at times, particularly if you don’t know what to give them. The most significant factor in this situation is giving a gift that the recipient will like. Even when you give someone a present, it often turns out that they won’t enjoy it or won’t be useful to them.
This also holds true when you need to give something to a fan of the rummy game. The difficulty further increases when you’re low on budget. However, we have a perfect solution for all your problems related to deciding on a gift for an offline or online player of the rummy game. We have prepared a list of gifts you can easily create using a deck of cards and some other craft items. You’ll really like these ideas of creating cost-efficient DIY gifts using just the playing cards that the receiver will surely appreciate. These DIY gift ideas will also add a personal touch to your gifts.
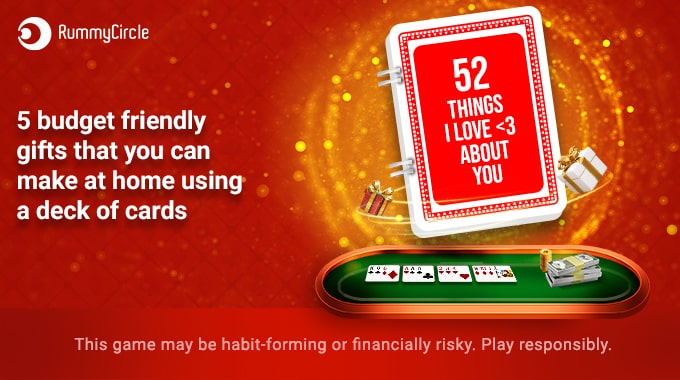
- 52 Reasons Why: A Playing Card-Based Book
If you have an empty deck, you can do this project for a particular loved one. Write a reason for your affection for each person on the card, such as “you are the reason for my smile” or “you look beautiful”. Make one or two holes in each card. To ensure that it all lines up properly, make sure they are in the same location on each card. Ring-bind the cards together. That is it, then! The ideal present for anniversaries, birthdays, Valentine’s Day, or any other significant moment is now in your hands.
- A Playing Cards Clock
Make a completely new clock out of an old one and a playing card deck! You can design it just by using a deck of cards, an old clock, a screwdriver, a cardboard sheet, scissors, and a glue stick. Using a flat screwdriver, recover the clock first, then take out the clock wises. It will be good if you have a plain color clock. If not, you can also color it.
The next step is to cut a piece of cardboard to fit within the inside radius of the clock. Draw marks for where you will paste the cards. Next, decide which cards to apply to your clock and try sticking them. Make sure your last card goes beneath your first. After that, you must cut the card corners and create a hole in the center of the sheet. It may be glued in the middle of your playing cards. Finally, reassemble everything, and you are ready with an amazing gift.
- Hair clip/pin with a playing card flower
You must be familiar with making flowers with different shapes of paper sheets, you can do the same with playing cards. You can make beautiful flowers and paste them into a hair clip. All you need is a deck of cards, scissors, glue sticks, buttons for the center of flowers, and blank hair clips/pins. Start by cutting the cards into a shape probably like a leaf or flower petals, preferably in three different sizes. On the underside of each petal, fold a little tab, and then cut a tiny notch in the middle of the tab. Wrap your finger around the tops of the petals. With ease, they maintain their form. On the top right corner of the card tab, dab a little bit of hot glue. overlap the card tab, then push the two pieces together to glue.
Continue folding and attaching large petals. Gather the end cards to make a circle after letting the adhesive on the final two petals dry. Attach the remaining two card tabs with glue. Repeat the same with medium and small-sized petals and attach them from large to small. Then, apply the button to the flower’s center. Your flowers are now ready, apply them to hair clips/pins or handbags and many other blank items. Your freshly made gift is ready.
- Ornaments made of playing cards
Do you like creating festive decorations at any time of the year so that you have a variety of ways to showcase your artistic endeavors when the festive season finally arrives? This is something that will definitely catch your eye.
The following supplies are required: a deck of cards, a bundle of thin wires, a variety of beads or buttons, wire cutters & pliers, a scissor, a big needle, and threads or strings.
How to make it – Cut several playing cards into 1/2′′ strips to start. To create your first ornament, pick 16 of those parts. Each part should have a hole at the bottom and top about 1/4″ from the end. Make a little loop at one end of a piece of wire that has been cut to about 10 inches in length. Start by stringing at least one bead to serve as a stopper, then add your card pieces one at a time. Add roughly 1-1/2′′ of beads as spacers after all of the card pieces are put onto the wire.
Start by carefully feeding the wire through the punched hole on the opposite end of the card, starting with the bottom piece. Similarly, place the following-lowest card against one side and repeat the process with it. Continually switch between the ornament’s two sides as you repeat this process on each component. Soon, a sphere should start to take shape. In order to fit the last (interior) component through, there should be just enough room. Add one or two more beads, form a looping in the wire, and trim the item after you have all the components rewrapped. To make a cool decoration, just slide a ribbon through the loop.
You can check this tutorial for further clarity – https://www.wikihow.com/Make-a-Sphere-Out-of-Paper